Laser Engraver Maintenance: Build a Routine Around the Exact Manual
Organize laser cleaning, inspections, service records, and replacement decisions without applying one model’s schedule to every machine.

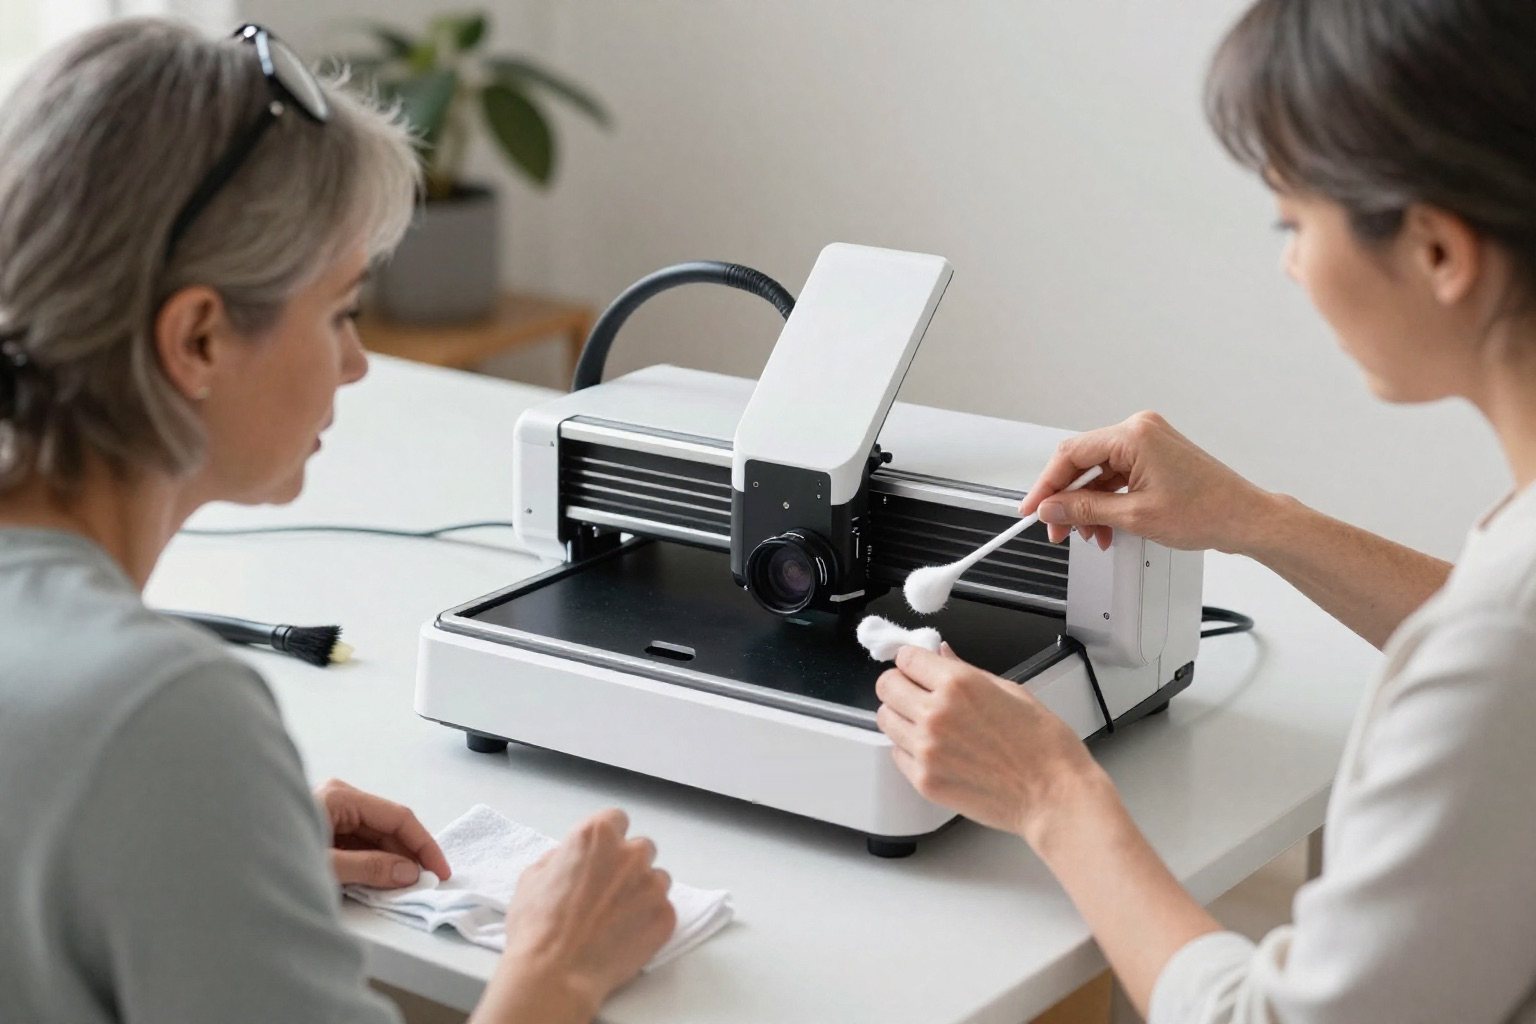
A laser keeps its results when you look after the machine you actually own, not a generic weekly checklist copied from a forum. Split owner care from service work, log processing time where the maker asks for it, and keep just enough notes to explain why a job suddenly looks different. This guide sets up that routine.
Affiliate disclosureAs an Amazon Associate we earn from qualifying purchases made through links on this page. Commissions never change our ratings.
Build the schedule from the installed configuration
List the machine, module, exhaust equipment, work support, and accessories currently in use. Find the current maintenance instructions for each. Extract the specified inspection or cleaning trigger, required supplies, shutdown procedure, and owner-service boundary. Keep the document revision or retrieval date so you can identify the instructions you followed.
xTool's S1 FAQ gives different protective-lens cleaning intervals for different modules and bases them on accumulated processing time.[9] Do not replace that with a universal once-a-week reminder. If older and newer documents disagree, ask the manufacturer which instruction applies to your hardware. Avoid selecting whichever interval is easiest simply because it appears in an official document somewhere.
Make routine inspection easy to perform
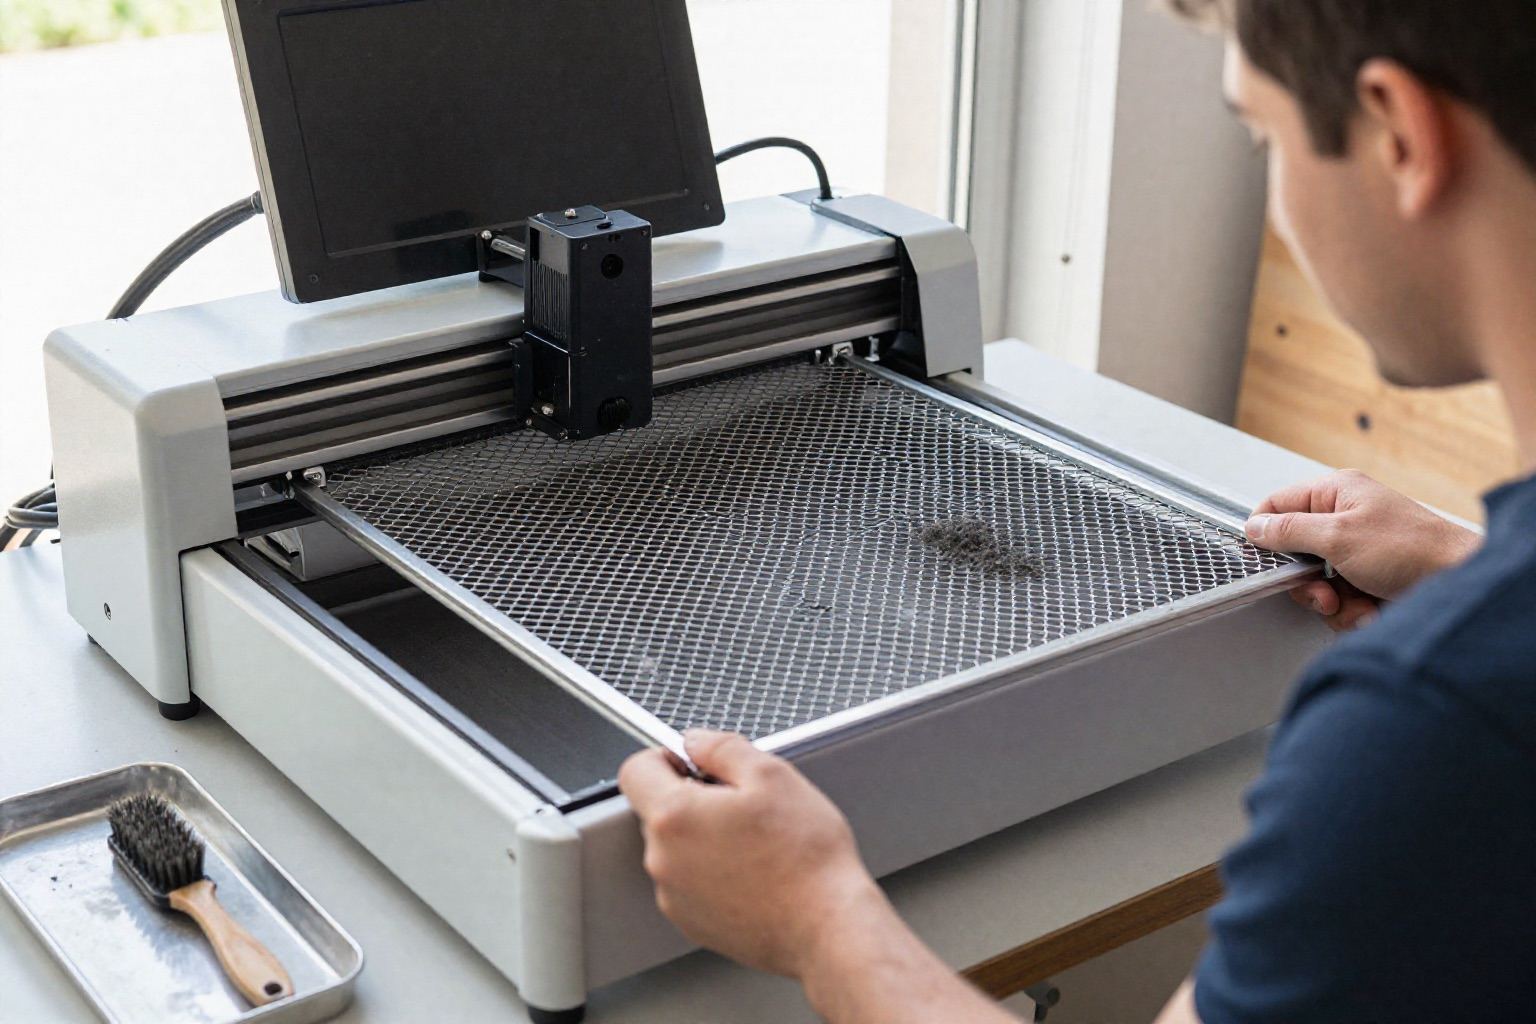
Create a short check before a session:
- Equipment condition
- Unresolved alerts
- Work-area cleanliness
- Maintenance due under the manual
Keep the record close enough to the machine that it will actually be used. A single dated entry is more useful than an elaborate spreadsheet nobody updates. Record the person who performed the work when the machine is shared.
The S1 safety guidance warns that accumulated processing residue can contribute to fire risk.[2] Follow your manufacturer's prescribed cleanup method and shutdown precautions. Do not introduce a household cleaning product just because it works on another surface. Keep the enclosure checklist available so routine care does not end with a protective part missing or incorrectly restored.
Treat optical surfaces as specified components
Identify whether the instructions concern a protective window, a lens, or another optical component. Follow the exact cleaning method, handling instructions, and approved supplies for that part. Do not assume the same solvent, pressure, or wiping method applies throughout the machine. When the manufacturer's procedure is unclear or only demonstrated visually, consult the complete official instruction before proceeding.
The S1 FAQ links dirty protective optics with degraded results and potential damage, and describes replacement for physical or persistent damage rather than an automatic calendar interval.[9] Apply that guidance only within its stated scope. If a component looks damaged, document it and obtain the appropriate replacement or support response. Repeatedly increasing power is not a substitute for resolving an identified optical problem.
| Area | Trigger | Source |
|---|---|---|
| Protective lens (S1) | Accumulated processing time, by module | xTool S1 FAQ |
| Damaged optics | Physical or persistent damage, not a calendar | xTool S1 FAQ |
| Processing residue | Prescribed cleanup method | xTool S1 safety guidance |
| Exhaust system | Filter changes and duct inspections | Extraction equipment instructions |
Include the exhaust system in the records
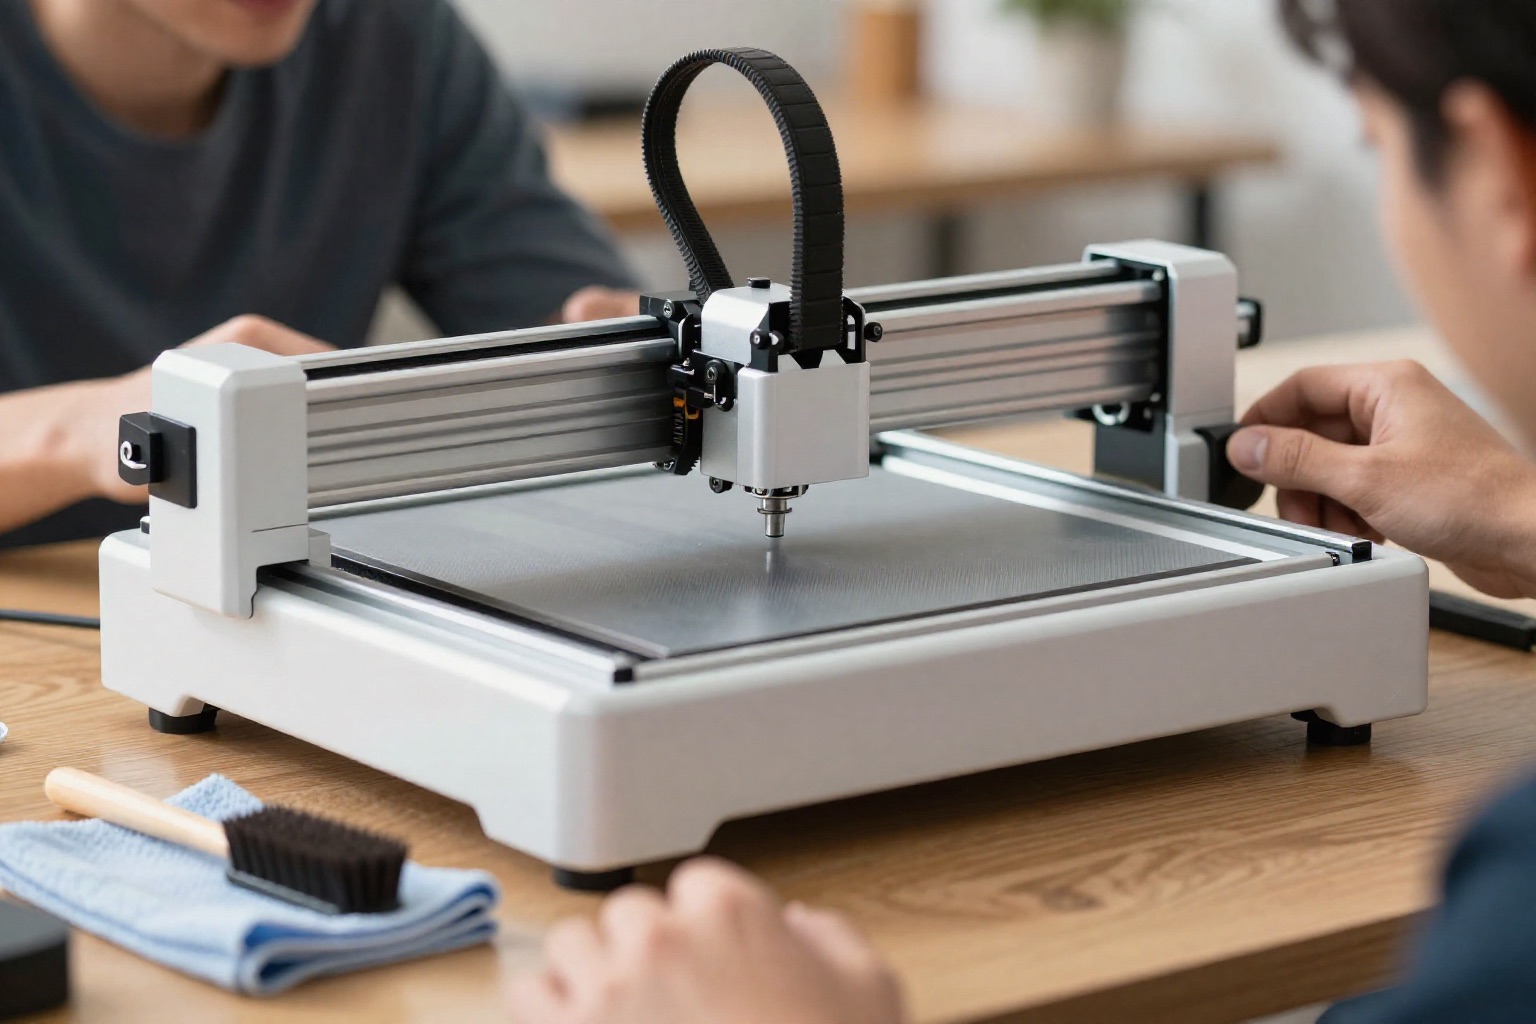
Keep the extraction equipment's service instructions alongside the laser maintenance list. Record filter changes, permitted duct inspections, and any fault that affected operation. Make access to those components part of the workspace plan. Our ventilation guide explains why a clean-looking machine does not settle the separate question of process-emission control.
After moving the machine or changing the bench layout, review the documented exhaust arrangement again. Avoid hiding a new duct restriction behind a successful-looking sample. If the system no longer matches the approved installation, resolve that mismatch before continuing work. Keep replacement references exact, since a similarly sized consumable is not necessarily the part specified for your filtration equipment.
Investigate a change in results methodically
Save a sample and note when the change appeared. Record recent material substitutions, software changes, fixture adjustments, and maintenance. Compare the current job with a known reference instead of starting several unrelated interventions. Our focus and alignment guide helps distinguish positioning, focal setup, and optical service questions.
If routine owner checks do not resolve the issue, prepare a support request with the model, module, error messages, file, and photographs. State what you actually observed rather than diagnosing a failed component in advance. Do not open restricted electrical or optical assemblies based on a generic online repair suggestion. Follow the manufacturer's service boundary and obtain the procedure appropriate to the specific machine.
Close the maintenance loop before production
After completing authorized care, restore every component using its instructions and perform the manufacturer's required checks. Use approved reference stock for a simple confirmation job when appropriate. Record the outcome and any remaining issue. If the symptom persists or a safety-related concern remains unresolved, keep the machine out of production until the next supported step is clear.
Review the maintenance log periodically for practical problems: supplies that are hard to obtain, repeated contamination, or tasks routinely postponed because access is awkward. Improve the workflow rather than quietly extending intervals. Keep spare parts only when their exact compatibility is established. A maintenance system works when it connects an instruction to a completed action and a documented result, not when it merely produces recurring reminders.
Our rated picks
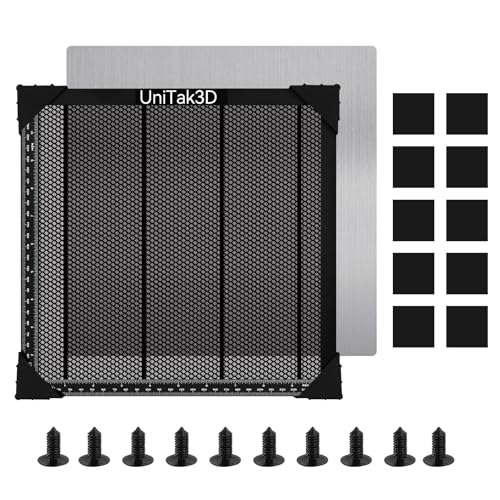
The three best-rated models of our engraver accessories ranking, from the buyer review record and the listed specs.


Product images: Amazon listings